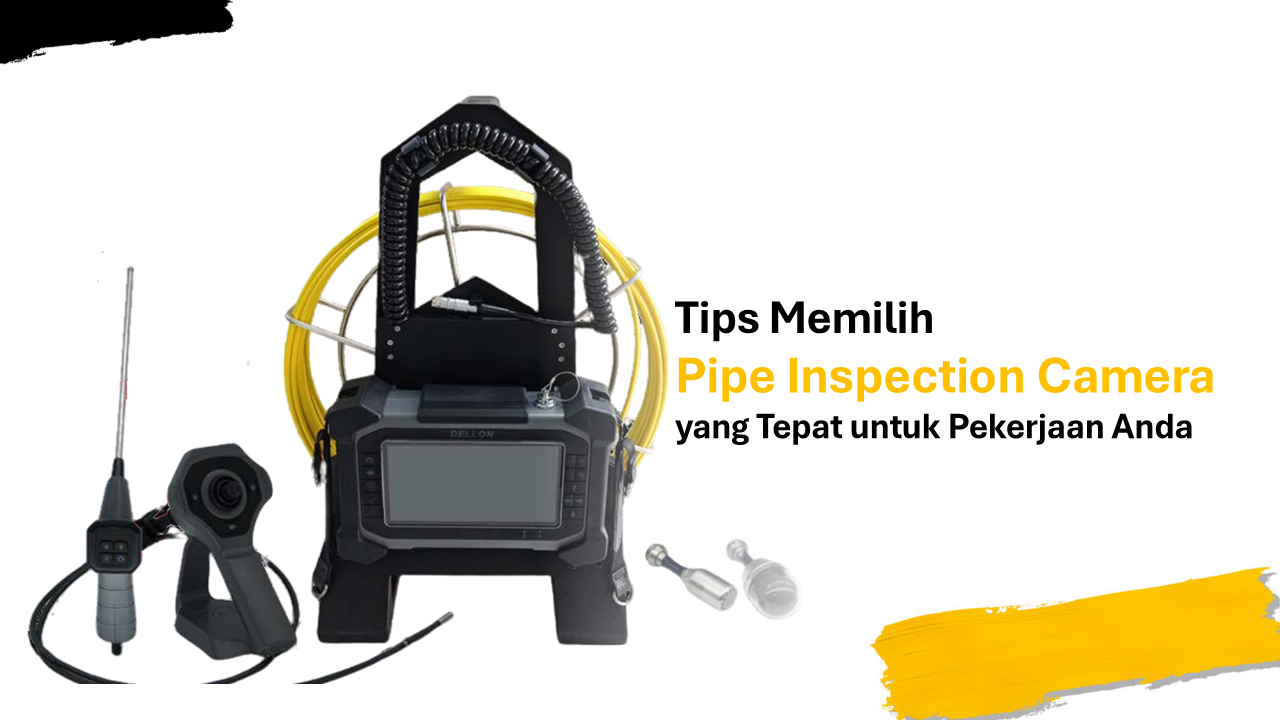
In the world of construction, plumbing, and infrastructure maintenance, a pipe inspection camera is an essential tool that can help detect problems in piping systems without having to dismantle the entire network. From finding blockages and cracks to hidden leaks, pipe inspection cameras help technicians work faster, more accurately, and more efficiently.
However, choosing the right inspection camera is no easy task. The many different types and features can be confusing, especially for first-time users. Here are some practical tips for choosing the right pipe inspection camera for your job:
1. Know Your Job Requirements
- Before choosing a camera, ask yourself several important questions:
- What is the diameter of the pipe you will be inspecting?
- Is the pipe straight, branched, or has many bends?
- Are you working in a residential, industrial, or public utility environment?
- Knowing these characteristics will help you choose the appropriate camera type, cable, and features.
2. Choose the Right Camera Type
Generally, pipe inspection cameras are divided into two main types:
- Push Rod Camera: A camera with a flexible cable that is pushed in manually. Suitable for small and medium diameter pipes, and short to medium distances.
- Crawler Camera: A camera equipped with wheels and controlled remotely. Ideal for large, long pipes, or challenging conditions such as underground sewage systems.
3. Pay Attention to Image Resolution and Lighting
A sharp image is crucial for clearly identifying problems:
Choose a camera with high resolution (HD or better).
Ensure it has a bright LED light integrated into the camera head to ensure visibility even in dark and muddy pipes.
4. Cable Length and Flexibility
The camera cable should be long enough to reach all sections of the pipe being inspected.
For domestic work, a cable of 20–30 meters may be sufficient. However, for industrial or municipal sewer inspections, 50–100 meters or more may be needed.
The cable should also be strong but flexible enough to accommodate bends and turns in the pipe.
5. Additional Features to Consider
Several additional features will be very useful:
- Transmitter/Sonde: Allows tracking of the camera's position from above the surface.
- Meter Counter: Shows how far the camera has penetrated the pipe.
- The ability to record video and capture images for documentation.
- A portable monitor with a large screen or even a connection to a smartphone/tablet.
6. Durability and Water Resistance
Because the working environment inside pipes is harsh, ensure your camera has:
- A high IP rating (at least IP67 or IP68) for water and dust resistance.
- Corrosion-resistant materials that are robust against pressure, impact, and extreme temperatures.
7. Ease of Use and Transport
Especially if you work mobile, choose an inspection camera that is:
- Lightweight and easy to transport, for example in a protective suitcase or backpack.
- Easy to operate, requiring no specialized technicians to operate.
8. Fit Your Budget
Pipe inspection camera prices vary depending on the features, cable length, and camera quality.
For light work, you can choose a more affordable camera. For technical and professional work, investing in a more comprehensive camera will be more profitable in the long run.
Choosing the right pipe inspection camera will significantly impact the success of your piping system inspection. By understanding the type of work, pipe size, and required features, you can choose a tool that is efficient, accurate, and within your budget. Don't hesitate to consult with a trusted equipment supplier for the best recommendations.